Wondering how to capture beautiful images while traveling, without being overloaded like a moving truck? Don’t worry: Julien takes over this post to tell you more about his choice of travel equipment for taking/editing photos and videos, details features and advantages of each, to help you being well-equipped – in a light, optimized way!
Camera first
First of all, you should know that the choice of camera remains very personal: there is no one model or type better than another, everything depends on you!
- If photography is not part of your hobbies, but you want to keep good memories: a good smartphone should do the trick! In terms of lightness, we don’t do any better.
- If you want to get beautiful shots but in a simple way, without changing lenses: a good compact camera (Sony RX type) or a bridge camera could be the solution! On the market, these devices have a very good quality/size/zoom/purpose ratio.
- If you like photography (and video!) and that navigating between modes, changing lenses for zoom, macro, night photography with a tripod doesn’t scare you… it’s a HYBRID camera you need, for a good versatility/size ratio!
Being part of this category of enthusiasts, I opted for a Sony Alpha 6XXX hybrid model (A6000, A6300, A6500) for my travels. Contrary to an SLR or even a “full format” hybrid, it can be worn around the neck all day or while hiking without any problem, and remains of a semi-professional quality.
In the Sony A6xxx range, two models stand out for making better quality videos: the A6300 and A6500 cameras. For photo only, the A6000 one is a very good compromise with a rather modest cost (considering the quality), and still makes nice videos! As for us, we used to travel with an A6000 camera the first year of our trip, then we acquired the A6500 model second hand afterwards.
A zoom in to our lenses bag
I like to be polyvalent: I need to be able to photograph and film landscapes (with a wide angle), animals or details (with a zoom), portraits or night scenes (with a large aperture) and small objects or insects (via the macro). So I took several lenses with me:
- A 16-50mm wide-angle F3.5-5.6 lens perfect for capturing a landscape – and very compact!
- A 35mm F1.8 lens for low-light and portraits (note: I invested in a much more polyvalent Zeiss 24mm F1.8 lens along the way)
- A 55-210mm F4.5 6.3 lens to zoom in,
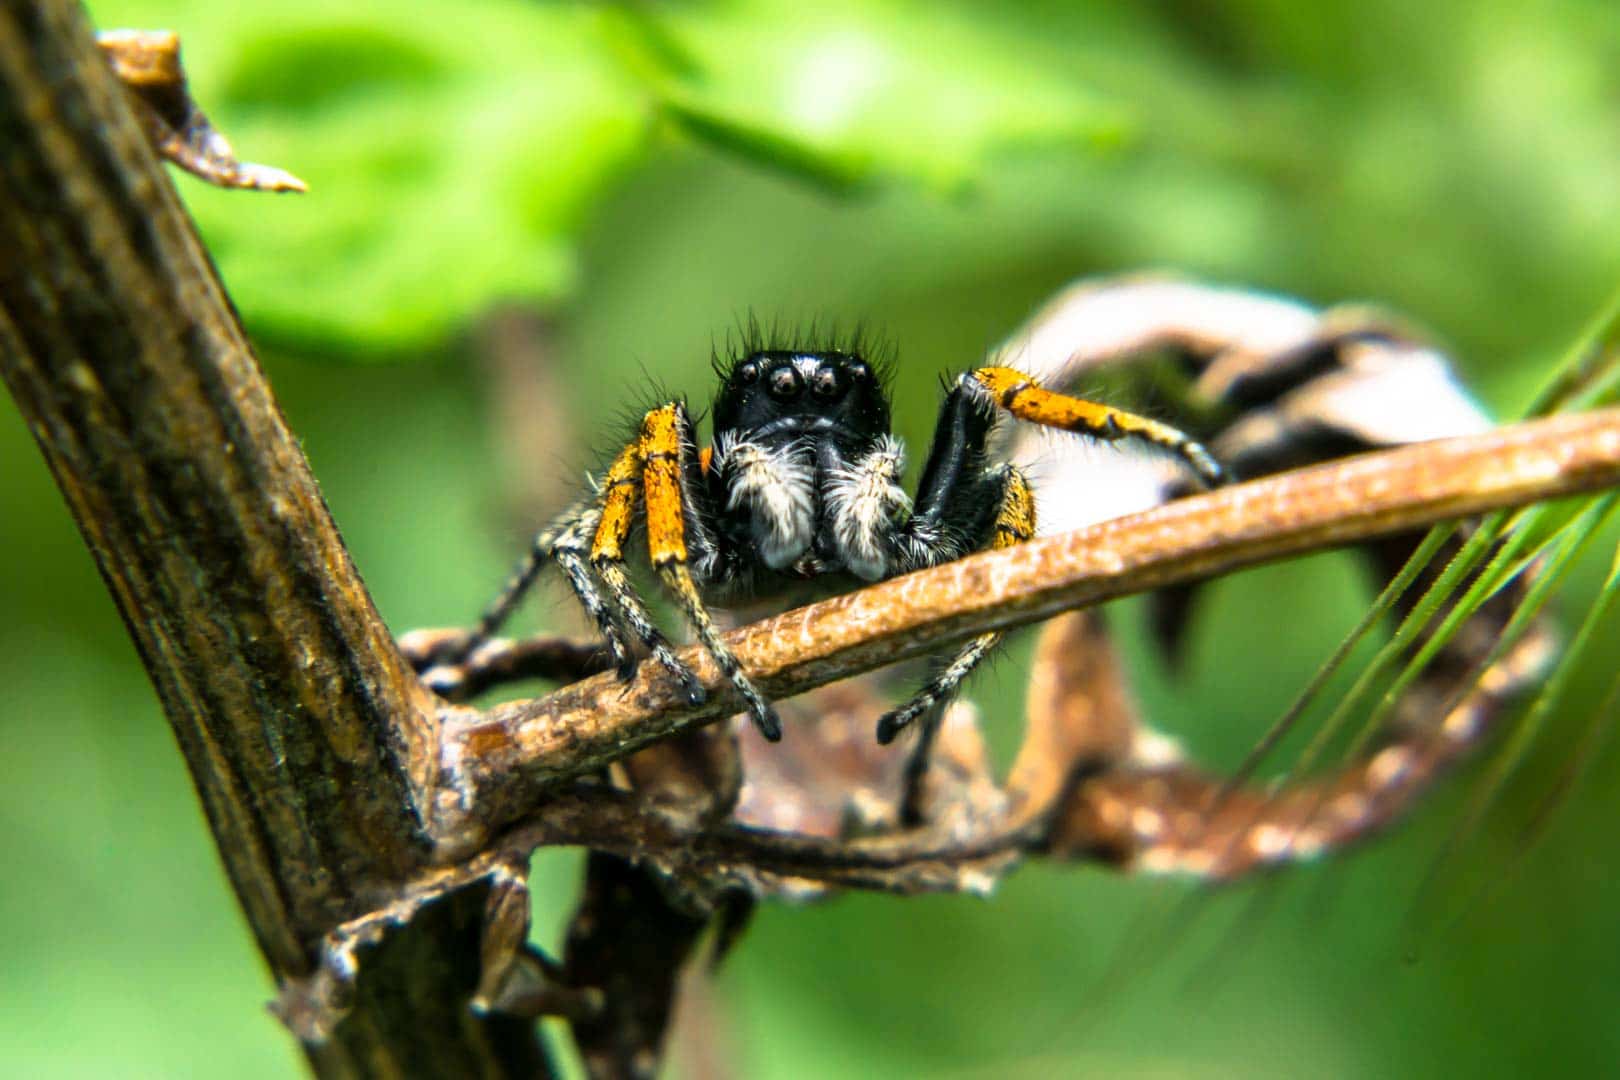
- And a MACRO Hoya +4 windscreen, to be screwed directly onto the zoom! The advantage of the windscreen is that it can be used for real macro occasionally, without having to worry about a fourth lens!
NOTE: If you also opt for the MACRO windscreen, avoid taking a first price one, in order to maintain a certain quality. With my windscreen, I was able to realize, among other things this above background picture.
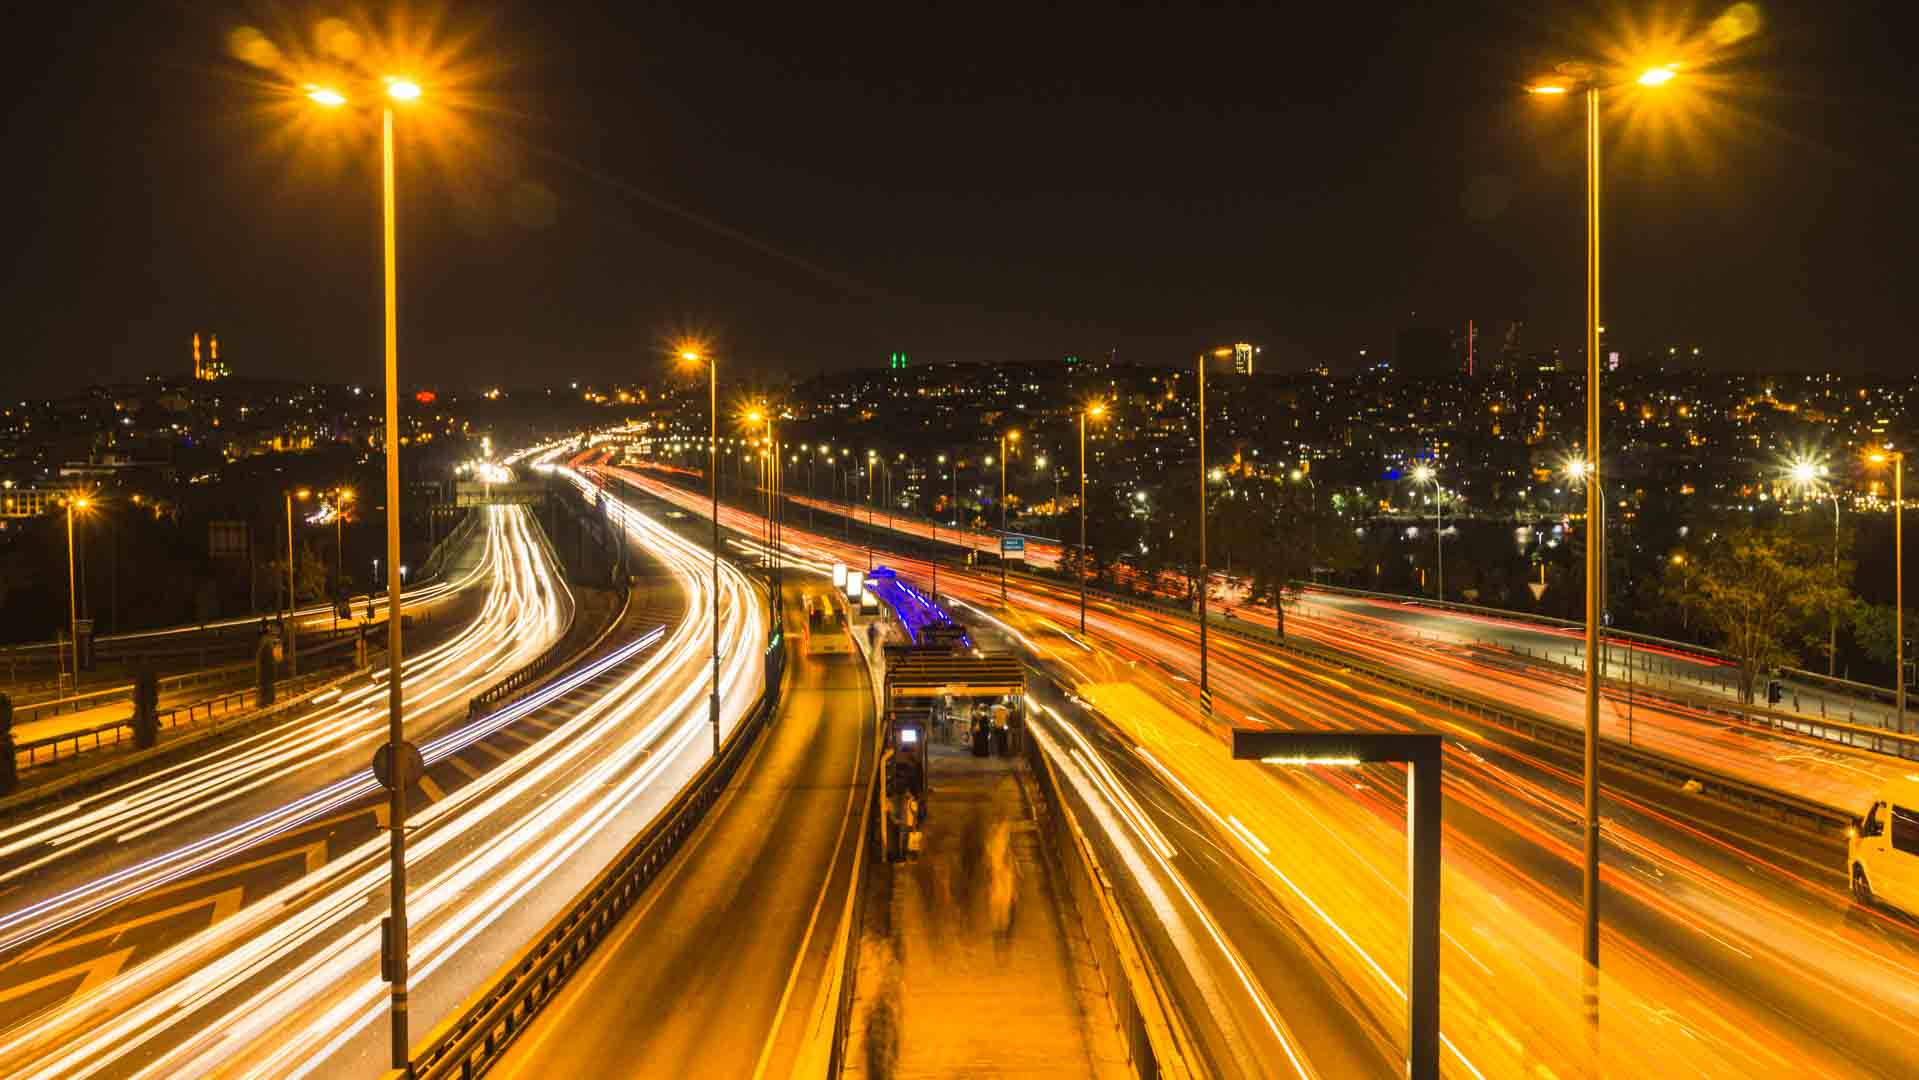
Tripod/Stabilizer, to make beautiful timelapses & hyperlapses
To obtain more “professional” effects, you will need a tripod. As for me, I travel with a “Manfrotte Element petit” tripod, very polyvalent, compact (32cm folded) and lightweight (1kg). Here is what it allows me to do:
- Photo: stable shots with long exposures, usually at night, without any loss of quality (without increasing ISO). I can also have fun taking more “artistic” photos: bright trails, “cotton” effect on rough water during the day (examples: Venise, Padova, Kosovo…). Be careful though: a long exposure means more light in your sensor, so you will have to close the shutter accordingly. In bright light conditions, closing will not be sufficient and an ND filter will be required (see section 4. Accessories)
- Vidéo: amazing timelapses (from 1min45) and hyperlapses, at all times!
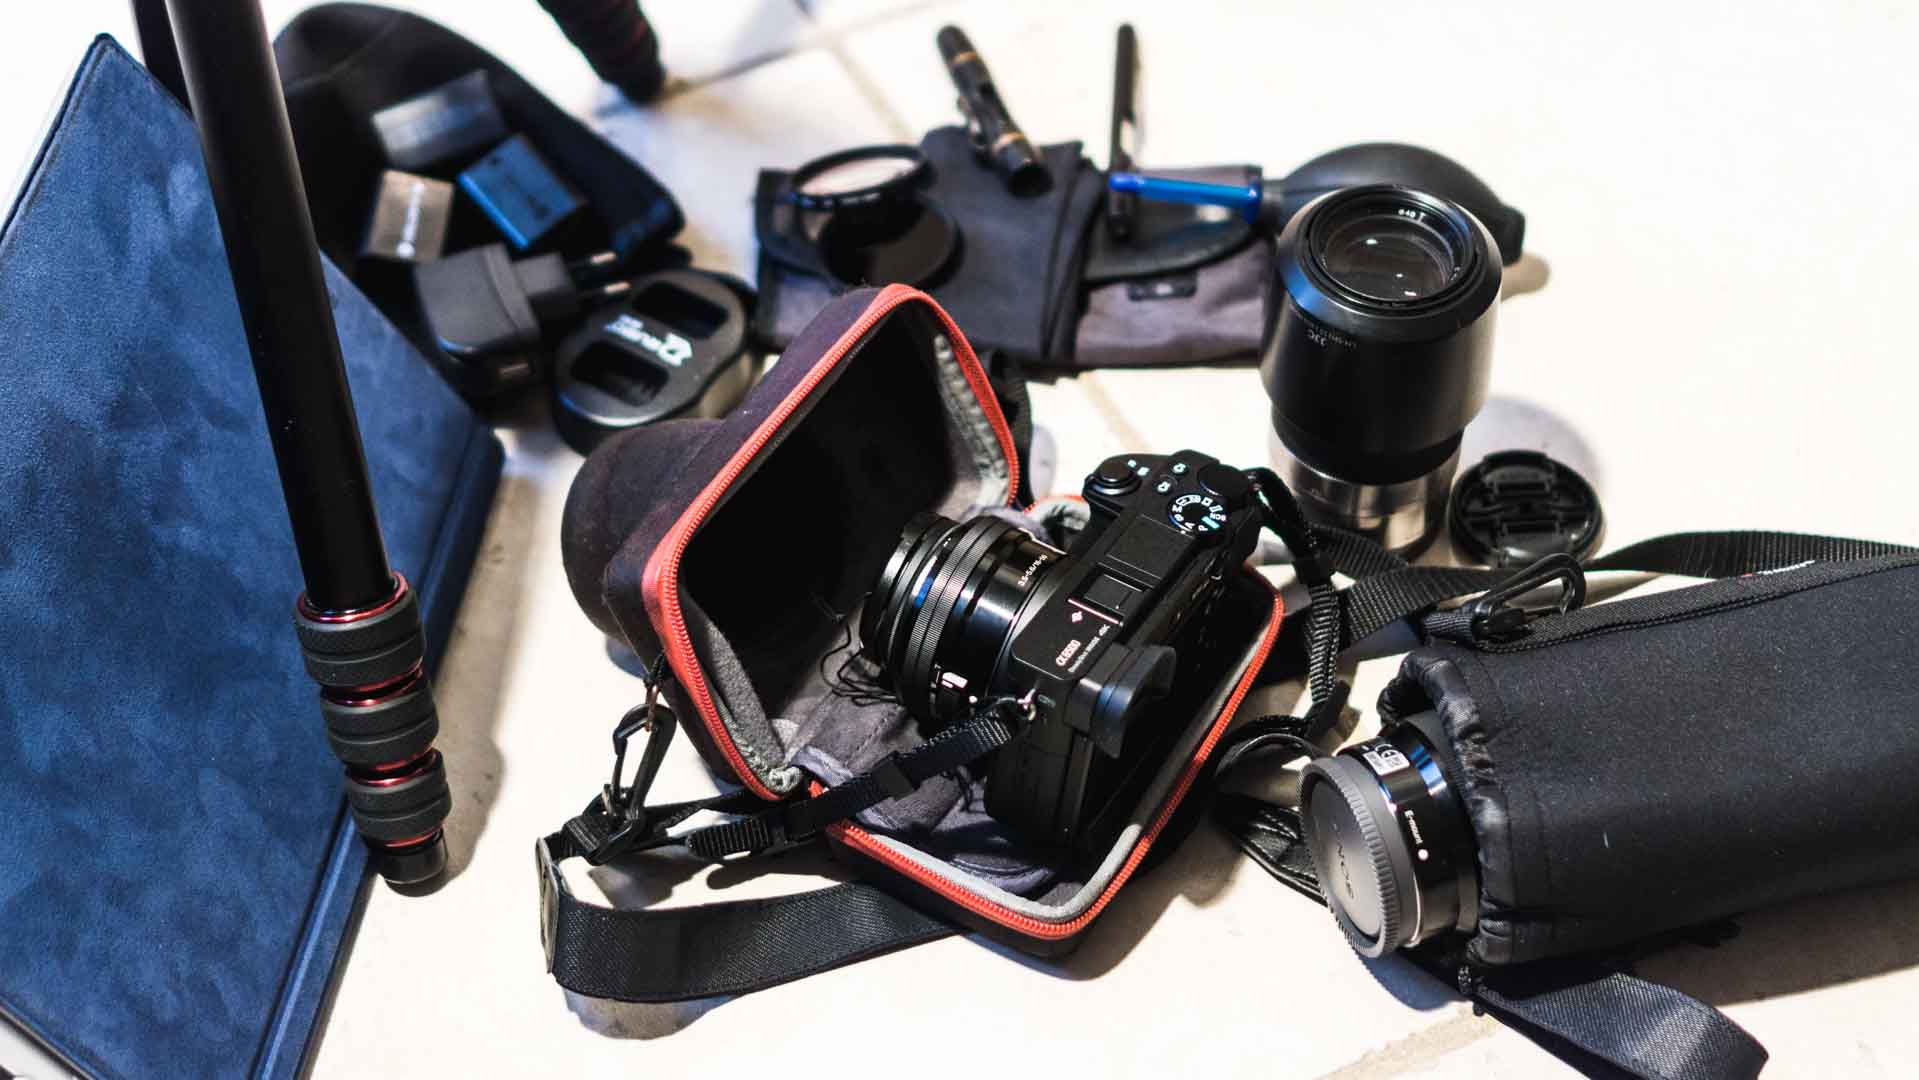
Travel equipment: all the multimedia accessories we carry
To make your travel equipment last, it’s essential to maintain and protect it properly with:
- A rigid case for my camera and neoprene covers for each lens. I don’t carry a bag especially for my photo equipment: each object is already well protected in its cover, and I always keep everything on me, in my small 20L backpack!
- Protective filters for lenses (I use UV filters). Do not hesitate to invest in brands, otherwise the quality of your images will suffer…
- Utensils for my equipment maintenance: a blower bulb to remove dust from the sensor, micro-fibre towels and a cleaning pen to remove dust and grease from my camera and lenses… I also have a carbon pen to clean the dust stuck to the sensor (to be used with great care, if you are not sure do not hesitate to call a professional!)
- A lens cap always attached to the camera
You can also add other accessories for even more photographic possibilities:
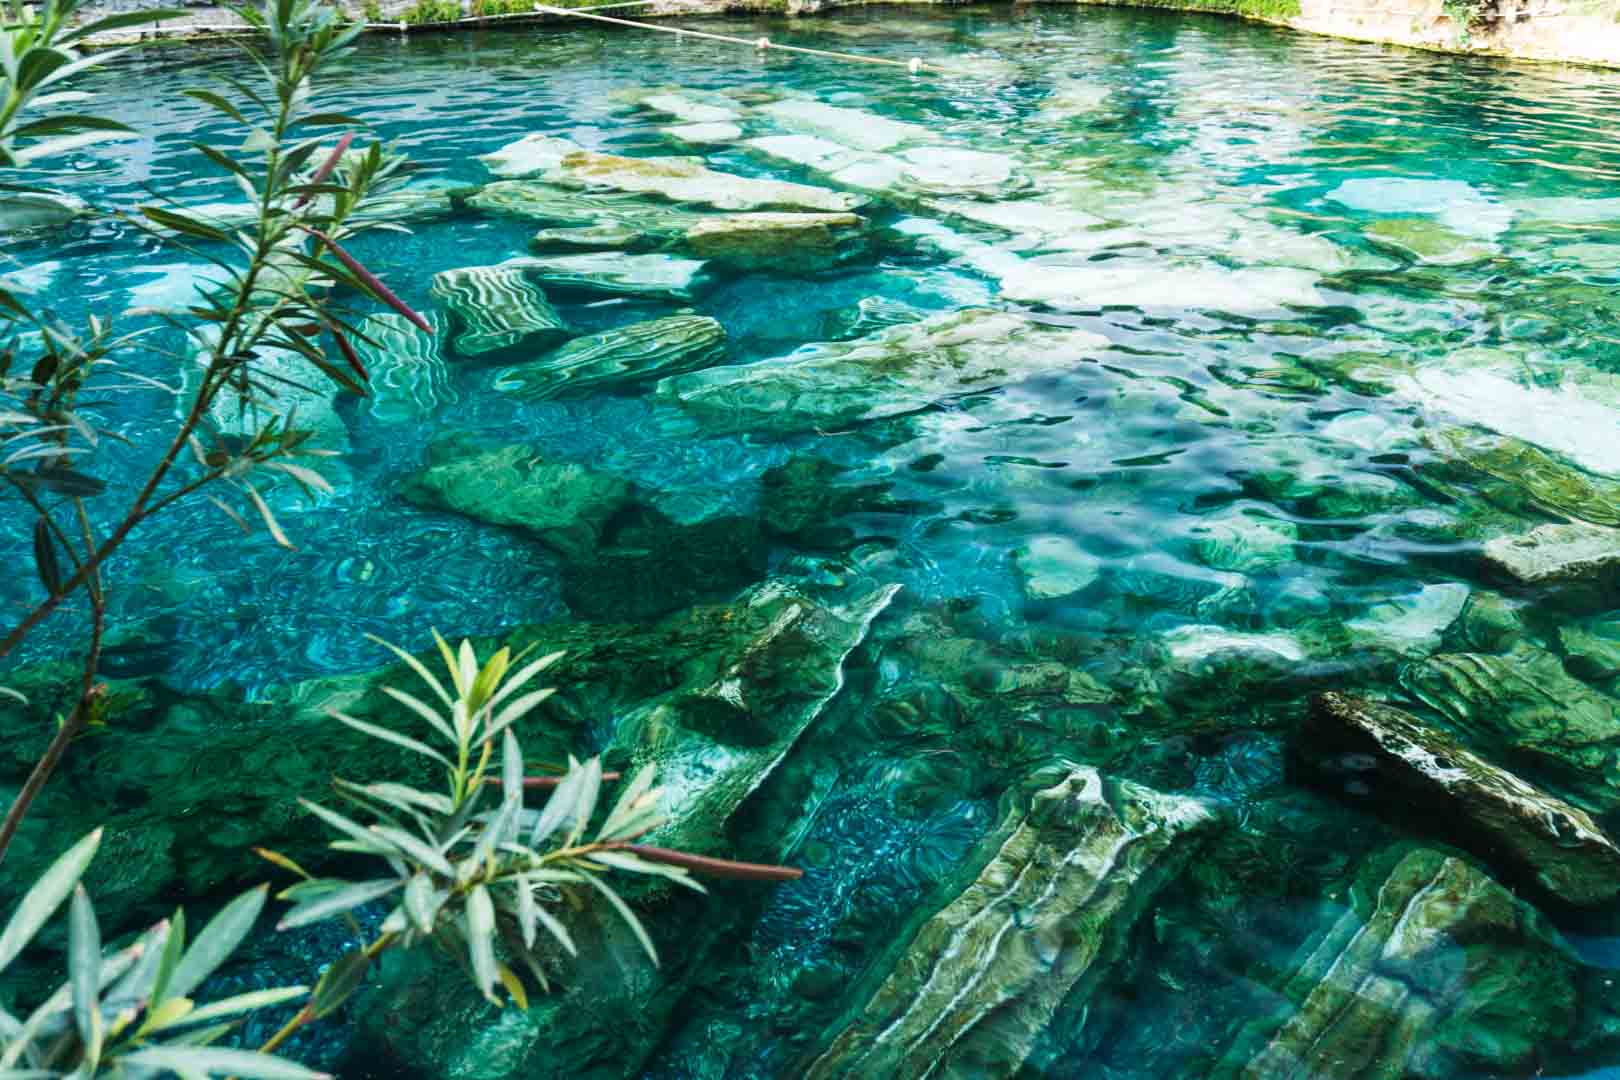
- A CPL filter which allows you to photograph the bottom of a water body by eliminating the reflection (see photo in the title background) or to improve the saturation of the sky;
- an ND filter (darkening filter) that allows you to take long exposures, during the day, with high brightness (see section 3. Tripod). For daytime photos, a classic filter such as ND8, ND200 or other is perfectly suitable. In daytime video, you can use kinematic effects of background blur by opening your lens as much as possible (1.8 with the 35mm lens) and keeping a kinematic recording speed of about 1/50 (you will need an ND2-400 dimmer filter for example, but this is not very useful for travel video).
- a MACRO windscreen: details in section 2. Lenses.
- Extra batteries
All my accessories are stored in a filter storage bag (22cm x 12cm).
Sport camera, an underwater ally
Another alternative to get quality videos without being heavily loaded: the sport camera!
The latest generations are very efficient both in terms of image quality, slowness, stabilization and waterproofing (no need for a diving waterproof case!). It’s only useful if you are going to spend a lot of time at sea. Personally, for the few times that we find ourselves in situations requiring a sports camera, we have preferred not to invest and carry unnecessarily one.

The choice of a compact & lightweight laptop
If you want to process your photos (from a .RAW format) or edit your videos, I advise you to carry a powerful laptop. But if it’s just to surf on Internet and watch some movies, a good smartphone can do the trick!
Personally, we have opted for a Microsoft Surface Pro 4 (intermediate version with an i5 processor) and are very satisfied with it. I put it directly into my small 20L backpack protected in its neoprene cover. Its advantages? Very compact and lightweight (750gr!), and powerful enough to edit videos in full HD! For a very fluid experience with videos edited in 4k, the higher version i7 is the best!
NOTE: just like our camera, and with our ecological and economic commitments, we have purchased this lapotop as a second-hand item!
* Post written according to our personal experience *